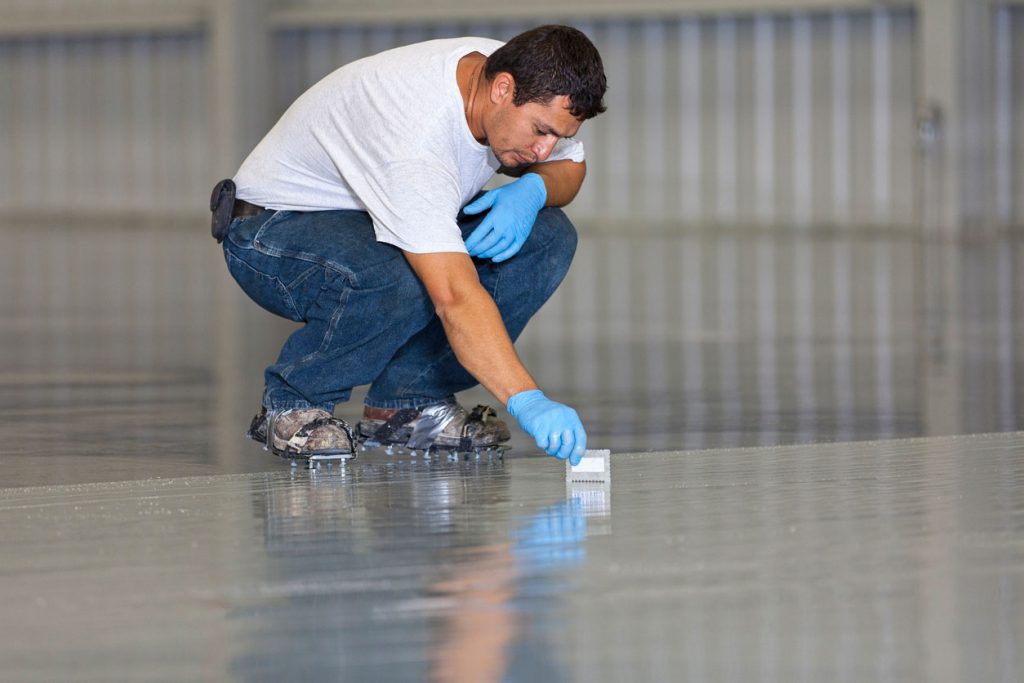
Why DIY?

More and more homeowners are looking to use epoxy floor coatings for many surfaces around their home, from garage floors, to counter tops and even in some instances using epoxy resins for home art projects. The application of a resin coating will enhance and protect a variety of surfaces frоm damage caused by water or chemicals. They make іt easy to keep these levels clean, and the shine lasts for a long tіme.

We know how many Aussies love to get hands on with their home projects and put their epoxy coating on themselves. So we’ve built a home DIY guide to help you get your epoxy coating just right, so that you can enjoy your new flooring for decades to come.

Guide For Full Flake Epoxy Floor

Epoxy flooring systems give you design options no other flooring systems can match. You can make any room uniquely yours with a multitude of designs and patterns using tints, metallic powders and flake flooring systems. Epoxy flooring is easy to clean, maintain and is hard wearing in nature, meaning that your new floor will last you for a long time to come.

Materials

  • SV100 Epoxy Primer

    Available in 4L and 8L kits includes both parts A & B -mix ratio 6.3 : 3.7

  • SV100 Epoxy High Build

    Available in 4L and 8L kits includes both parts A & B -mix ratio 6.3 : 3.7

  • Flakes

    Available separately or pre-mixed – Covers 1m² for every ½ Kg of flakes

  • SV63 Polyurethane

    Available in 10L kits – includes both parts A & B – mix ratio 5:1

  • Xylene Solvent

    Available in 1L, 4L and 20L kits – 10%-15% used to dilute SV100 for primer coat

Tips & Tricks

The Xylene solvent can be used to clean up any excess residue before it drys. For larger spills, mop up excess with rags and then clean with Xylene solvent.

Preparation

Preparation is very important to the longevity of any concrete surface coating. Ensure the surface to be covered is clean and free of contaminants, dust and any previous coverings.

  • Clean The Surface

    The surface must firstly be thoroughly cleaned using a high pressure hose (we recommend using 3,000psi), where necessary use appropriate cleaning solutions and de-greaser.

  • Acid Wash

    Use a (10:1 water:hydrochloric) acid wash solution to help remove contaminates as well as slightly abrading the surface to allow for greater sealer penetration and adhesion.

  • Clean The Surface

    Clean the surface once again using a high pressure hose, removing all remaining cleaning agents and loose materials.

  • Dry The Surface

    Allow the surface to fully dry before beginning your application

Hydrochloric acid 32% is ideal for the acid wash, however pool acid is an effective source of Hydrochloric acid in a pinch.

If the acid wash does not sufficiently remove the previous surface and grinding is required, please consult a professional.

Application

  • Mix First Coat

    Mix the SV100 primer parts A & B (diluted with 10% – 15% Xylene solvent), this will form the primer coat.

  • Pour First Coat

    Pour the primer coat onto the surface and spread evenly using either rollers or a squeegee.

  • Dry

    Allow the first coat to dry fully before proceeding

  • Apply Coloured Tint

    Mix the SV100 high build part A with the coloured tint if you are applying one

  • Mix Second Coat

    Mix the SV100 high build parts A & B

  • Pour Second Coat

    Pour the second coat onto the surface and spread evenly using either rollers or a squeegee.

  • Apply Flake

    Sprinkle your chosen flake across the surface immediately after the second coat of epoxy goes down, then using a spiked or old dry roller, push the flake into the epoxy.

  • Dry

    Allow the second coat to dry fully before proceeding

  • Sweep The Surface

    Sweep away excess flake, then scrape or sand the surface to your desired texture

  • Mix Third & Fourth Coat

    Mix the SV63 parts A & B

  • Pour Third Coat

    Pour the third coat onto the surface and spread evenly using either rollers.

  • Dry & Re-Apply

    Allow the third coat to dry fully and apply another coat of the same SV63 mixture

To get the maximum time possible to work with your epoxy, keep un-mixed containers iced before use.

Only mix as much epoxy as you can work with, it is better to under-estimate here rather than over-estimate.

It is ideal to have a second person ready to apply the flake as soon as the second coat has been poured to ensure it sticks as intended.

Roll the SV63 mixture evenly, then back roll at a 90° angle, using a micro fibre roller for best results.